Pre-publish workflow
How to Test Roblox Clothes Before Uploading
You can test Roblox clothes before uploading or opening Roblox Studio: export a 585 × 559 PNG, load it into the clothing tester, rotate the Avatar through the front, back, and side views, then repeat the check on R6 and R15. Pay special attention to sleeves, waist edges, mirrored text, and panel joins. Download the preview as a final reference before returning to your source file or publishing workflow.
Test your templatePrepare the classic clothing PNG
Start from the classic Shirt or Pants template instead of placing artwork on an arbitrary image. Keep the canvas at 585 × 559 pixels and export as PNG so transparent areas remain transparent.
Do not resize the finished template after painting. A single-pixel shift at the source can become a visible break when the front, side, and back panels wrap around the Avatar.
- 585 × 559 canvas
- PNG format
- Transparent background where clothing should not appear
- Artwork stays inside the intended body panels
Load Shirt and Pants into one preview
Open the tester, choose Shirt or Pants, and drop the matching PNG into the upload area. The file stays in the browser and the preview updates on the same page. Add the second clothing type if you need to check the waist transition as a complete outfit.
A valid preview should replace the starter texture on the Avatar. If the tool rejects the file, fix its format or dimensions before judging the design itself.
Inspect front, back, sleeves, and waist
Use the fixed view controls for repeatable checks, then drag the Avatar to inspect diagonal angles. The front view catches off-center graphics; the back view exposes mirrored text and swapped panels; side views reveal sleeve and torso seams.
Turn on the seam overlay as a visual reference. It does not edit the file or guarantee approval, but it makes it easier to compare the clothing edges with the Avatar's center, shoulder, and waist lines.
- Front graphic is centered
- Back text reads in the correct direction
- Left and right sleeves use the intended panels
- Shirt and Pants meet cleanly at the waist
Repeat the test on R6 and R15
R6 and R15 use different body segmentation and movement, so the same classic clothing can read differently around elbows, shoulders, hips, and knees. Switch rigs without re-uploading the file and repeat the critical angle checks.
When the design works on both rigs, download a PNG of the preview. Use that image as a quick comparison while correcting the source template; final upload, moderation, and publishing still happen in Roblox's own workflow.
Do not stop at the front view.
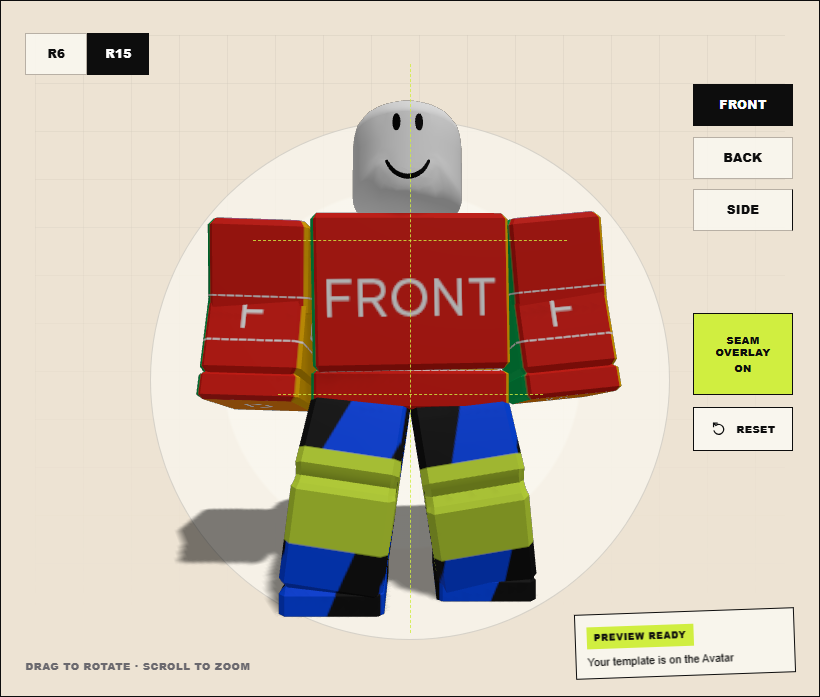
Confirm the main graphic, sleeve direction, and waist edge on Front.
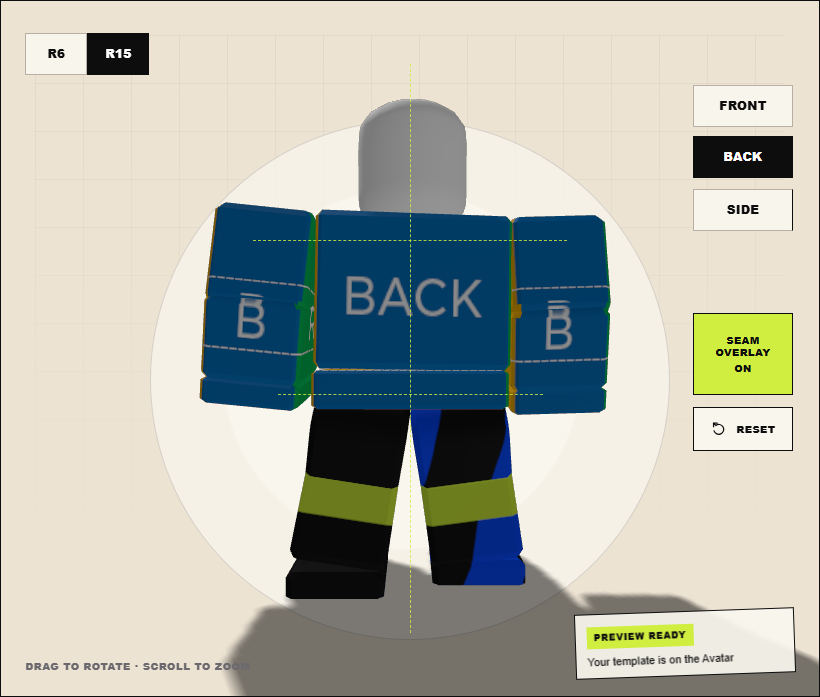
Turn to Back before export so mirrored letters and broken edge continuity cannot hide.
Correct versus wrong
The template is 585 × 559, transparent areas remain clear, graphics face the correct direction, and seams remain readable on both rigs.
The preview shows mirrored text, broken sleeve edges, a hard waist jump, or artwork spilling into a neighboring panel.
Questions creators ask
Can I test a Roblox Shirt without uploading it?
Yes. The tester reads the PNG locally in your browser, so you can inspect the Shirt before starting Roblox's upload process.
Can I preview Roblox clothes without Studio?
Yes. The browser tester provides the visual Shirt and Pants preflight without opening Roblox Studio. Use Roblox's official workflow for the final upload and publishing steps.
Should I test Pants separately?
Test Pants alone to inspect leg panels, then test Shirt and Pants together to check the waist transition.
Is a downloaded preview proof that Roblox will approve the clothing?
No. The preview is a visual preflight check, not an approval or moderation result.