Choose one file
Shirt and Pants keep separate panel maps, layers, history, and export actions.
Roblox Clothes Maker / Local Studio
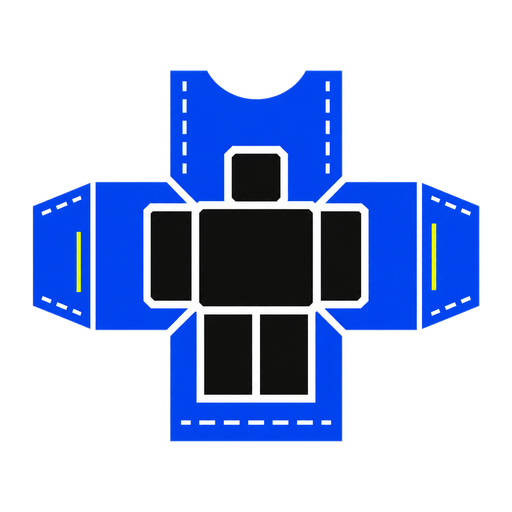
Choose Shirt or Pants, place text on one exact body panel or repeat an image across selected panels, then verify and export its 585 × 559 PNG.
Editing now
Shirt and Pants keep separate panel maps, layers, history, and export actions.
Text stays on one face; one image can repeat across every torso, sleeve, or leg face you select.
Check the active file on R6 and R15 before downloading its 585 × 559 PNG.
Flat panels hide expensive mistakes
Move from the labeled 2D faces to one live Avatar. The fastest review is the same Shirt and Pants seen from the angles where seams break.
Keep focal graphics centered, then turn the Avatar around to catch mirrored text and swapped faces.
Inspect where sleeve faces meet and where the Shirt hands off to the Pants around the waist.
Use R6 for broad panel alignment and R15 for shoulders, elbows, hips, and knees that bend the design.
Compare neighboring edges before thin gaps or mismatched colors become visible in Roblox.
Real files, local workflow
The Maker keeps Shirt and Pants in separate tabs, clips text to one panel, repeats one image across selected panels, and builds the active 585 × 559 PNG in your browser.
No. They stay together in this Maker project, but Roblox uses separate Shirt and Pants template files.
Every template export is exactly 585 × 559 pixels, with content clipped to the matching clothing faces.
No. Added images and generated templates stay in this browser session unless you choose to download them.
Yes. A design can look aligned on R6 and still bend differently around R15 joints.