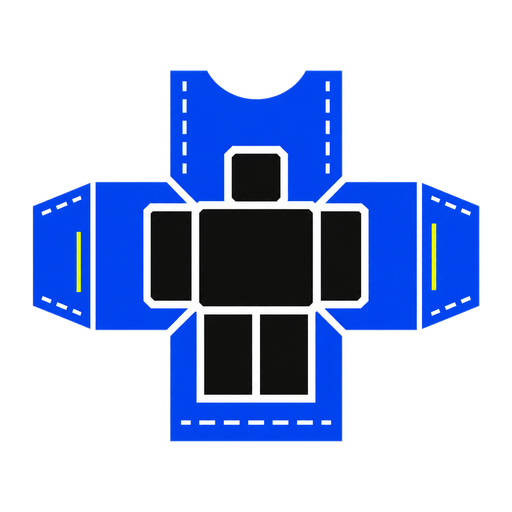
Rig comparison
R6 vs R15 Roblox Clothing: What Changes?
R6 uses six large body parts while R15 uses fifteen articulated parts. Classic Shirt and Pants templates can be previewed on both, but R15 introduces more joints around the shoulders, elbows, hips, and knees. A design that looks aligned on the blockier R6 body can bend or break differently on R15, so creators targeting mixed audiences should test both rigs before uploading.
Test your templateThe body structure changes the fit
R6 keeps the Avatar silhouette simple: one torso, two arms, two legs, and a head. R15 divides the body into more segments so poses and movement can bend at additional joints.
The classic texture still comes from the same Shirt or Pants template, but the visible surface is distributed across a different rig. That is why the useful question is not whether the PNG changes, but where the wrapped artwork becomes vulnerable.
What to inspect on R6
R6 makes broad panel alignment easy to see. Use it to judge the overall silhouette, front and back balance, large graphics, and whether the sleeve design continues cleanly from the torso.
Because the body is blockier, small alignment errors can look like sharp jumps at panel boundaries. Check both side views instead of assuming symmetrical artwork produced symmetrical wrapping.
- Large front and back graphics
- Torso-to-sleeve continuity
- Left and right panel direction
- Shirt-to-Pants waist line
What to inspect on R15
R15 deserves extra attention around joints. Rotate the preview to a diagonal view and look at shoulders, elbows, hips, and knees, where color blocks or straight lines may appear less continuous.
Thin typography and borders are especially sensitive. If a critical mark sits directly on a joint or panel edge, move it inward or give it more visual tolerance in the source file.
- Shoulder and elbow transitions
- Hip and knee transitions
- Thin lines near joints
- Readable graphics from diagonal angles
Which rig should you design for?
If you know the exact experience and Avatar type, make that rig your primary check. If the clothing will be used across different experiences, test both and protect the design's important details from panel edges and joints.
The tester keeps the current Shirt and Pants loaded while you switch rigs, which makes differences easier to spot than comparing two unrelated screenshots.
Compare the side that bends.
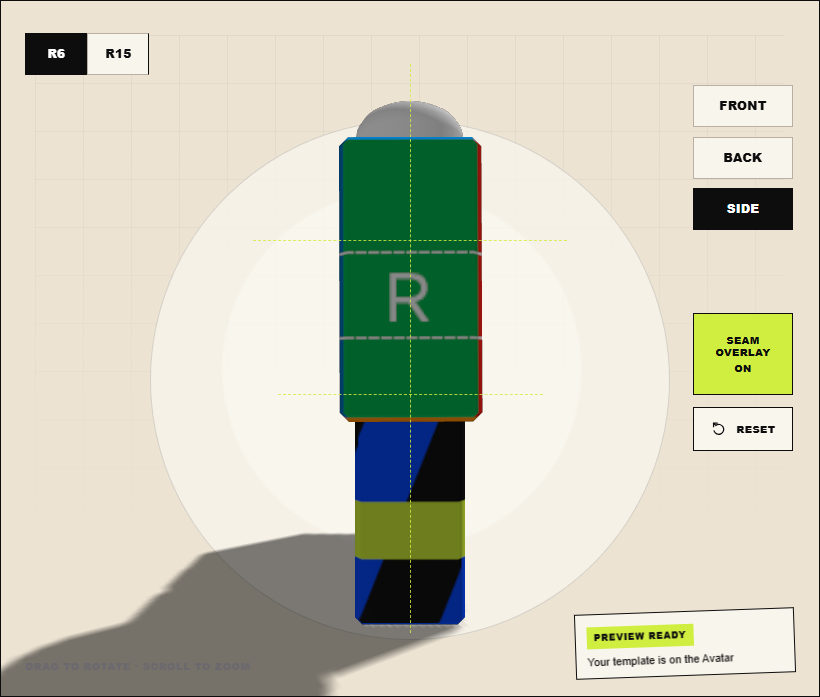
The broad six-part body exposes panel direction and large edge changes.
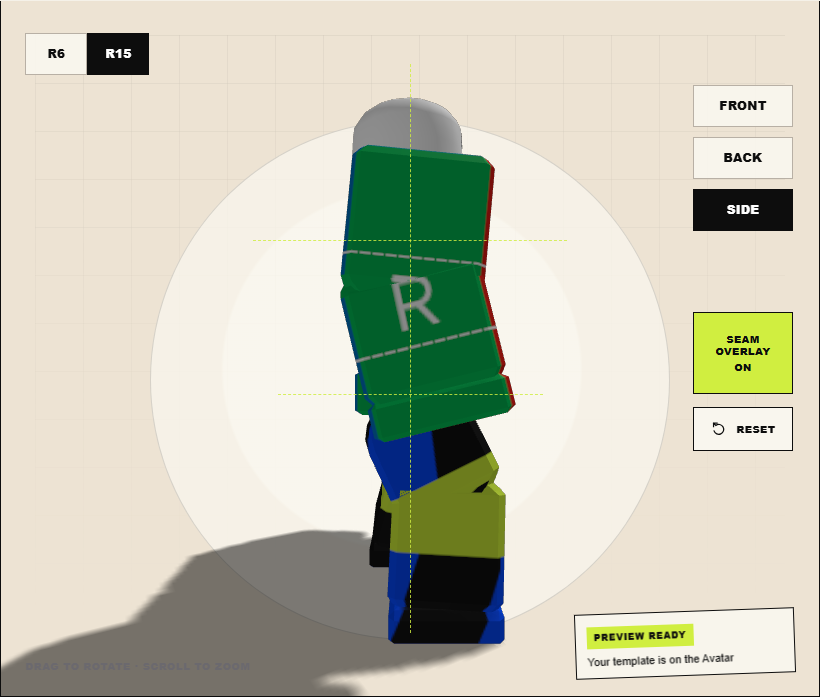
The articulated body reveals how details cross shoulders, elbows, hips, and knees.
Correct versus wrong
Important graphics stay away from joint edges, sleeve direction is correct, and the look remains readable on both the six-part and fifteen-part bodies.
The design is judged only from a front R6 view, leaving R15 shoulders, elbows, hips, or knees unchecked.
Questions creators ask
Do R6 and R15 need different classic clothing templates?
The tester accepts the same 585 × 559 classic Shirt or Pants template for both previews; the rig changes how that texture is displayed on the body.
Do Roblox clothes fit the same on R6 and R15?
Not exactly. The same classic template is used, but the additional R15 joints can change how lines and details read around shoulders, elbows, hips, and knees.
Why does a straight line look different on R15?
R15 has more body segments and joints, so a line crossing a shoulder, elbow, hip, or knee can bend across several surfaces.
Should I always support both rigs?
Not always. Use the rig required by your target experience, but test both when the audience or destination is mixed or unknown.