Your first clothing project
How to Make Roblox Clothes
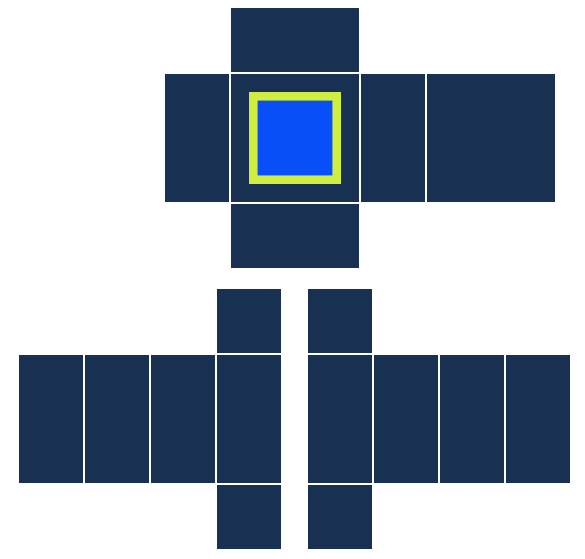
To make classic Roblox clothes, start in the clothes maker, choose Shirt, set a garment color, and add your artwork to the intended panel. Check that file on R6 and R15, then export its 585 × 559 PNG. Repeat in Pants mode and save a project file to keep both garments editable. This lesson makes a navy Shirt with a square chest patch and matching Pants with one patch on each leg; no drawing software or Roblox sign-in is needed for these steps.
Open the clothes makerGet the practice image and see the goal
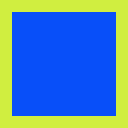
Download the small blue-and-lime square below. It is original practice artwork you can reuse or replace with your own image. The goal is two separate clothing PNGs and one editable project, not an Avatar screenshot.
For a shortcut, download the example project and choose Open project in the Maker. Opening replaces both current garments and clears their undo history, so save any work you want to keep first. To learn from scratch, leave the project closed and follow the next steps.
Create the Shirt on one exact face
Open the Maker and choose Shirt. On a fresh project, set Garment base to #183153. Choose TORSO FRONT under Text / default target; Image targets should show that one panel. Open the + Add a layer menu, choose Image, and select the practice PNG.
The image starts centered on the chest. Keep its default size for this example. Dragging or resizing a selected image changes the artwork inside its target panel; it does not move the body panel itself. Use Undo if you move it accidentally. You can add your own text to TORSO BACK later, after the basic example works.
- Shirt mode
- Navy #183153 base
- Image targets: TORSO FRONT only
- One centered square patch
Repeat the image on both leg fronts
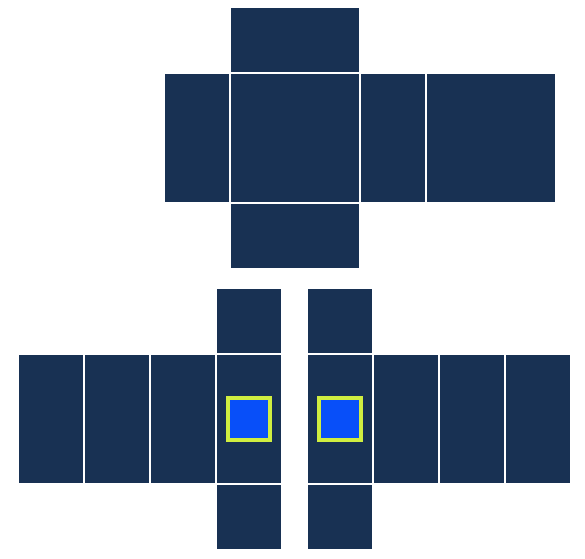
Switch to Pants and set Garment base to #183153. Open Image targets. Keep RIGHT LEG FRONT selected and select LEFT LEG FRONT as well, then close the target picker. Add the same practice PNG through + → Image.
One image layer now repeats at the same relative position inside both selected faces. It does not stretch between the disconnected leg panels. The Shirt remains in its own mode; switching modes does not merge the two export files.
- Pants mode
- Both leg fronts selected
- One image layer, two repeated patches
Check each garment, then export both PNGs
In Shirt mode, use the Maker's live Avatar to inspect Front, Back, and Side on R6 and R15. The patch should stay on the front torso, without reaching the shoulders or waist. Switch to Pants and repeat the check for both leg fronts. Each mode checks its active garment; the other clothing visible on the preview can be the starter outfit.
Choose Export Shirt PNG in Shirt mode and Export Pants PNG in Pants mode. Keep both files at 585 × 559. Download preview saves a picture of the Avatar instead; it is not a clothing file and cannot replace either template PNG.
Save the editable project and reopen it
Choose Save project and keep the downloaded JSON file. It contains both garments, their layers, colors, and embedded practice image. After saving, reload the Maker and choose Open project to select that file. Both modes should return with one image layer each, and the Pants layer should still target both leg fronts.
If you cancel an Open confirmation, the current work stays in place. An unsupported or damaged project should show an error without replacing it; select a known-good saved project instead. A finished PNG cannot restore its former layers, and a project from another editor is not a Maker project. Without a saved project, closing or reloading the page loses the editable session.
Continue through Roblox's own testing and upload flow
These steps finish the classic clothing files, not a Marketplace listing. This Maker does not upload, sell, or obtain moderation approval for your design. Keep the two template PNGs separate from the project JSON and Avatar pictures.
Roblox recommends a Studio test before uploading or selling classic clothing. Follow its current instructions and creator requirements for the remaining steps. For source artwork you paint in another editor, use the Templates page for a blank base and a separate panel reference map.
Follow Roblox's classic clothing instructions or get the blank templates and reference maps.
One Shirt file. Two rig checks.
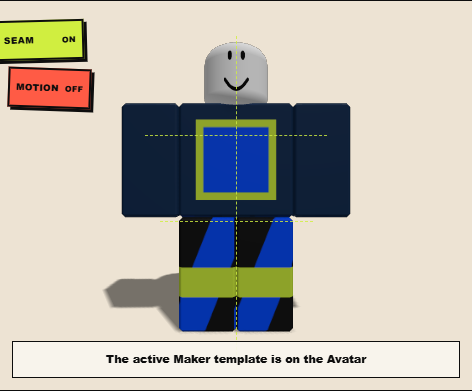
The chest patch stays centered on the broad front torso. This mode checks the Shirt; the Pants shown are starter clothing.
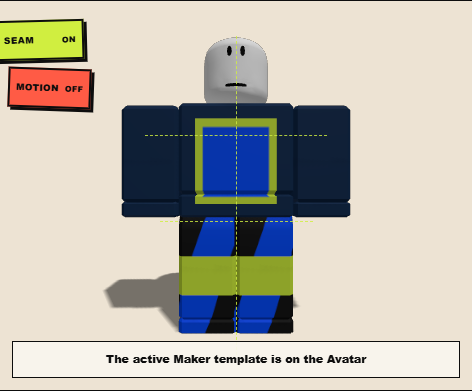
Check the same patch near the segmented shoulders and waist, then switch to Pants mode to inspect its separate file.
Correct versus wrong
The Shirt has one chest patch, Pants repeat the patch on both leg fronts, each PNG is 585 × 559, and the saved project reopens with editable layers.
A screenshot shows the outfit but cannot be uploaded as the classic template or reopened as editable layers. Export the template PNGs and save the project separately.
Questions creators ask
Can I make Roblox clothes without Photoshop?
Yes. This practice project uses the browser Maker's base color and local image layers. Use your preferred image editor when you need to paint a more detailed pattern.
Does this tutorial make a T-Shirt?
No. It makes classic Shirt and Pants templates. A classic T-Shirt is a different item that places a square image on the front torso.
Why did my image appear on only one leg?
Select both RIGHT LEG FRONT and LEFT LEG FRONT in Image targets before adding the image. If you already added it to one panel, use Undo and add it again with both targets selected.
Can I upload the example project to Roblox?
No. The JSON is for reopening this Maker. Export the Shirt and Pants PNGs for Roblox's official workflow; an Avatar preview is also a separate file.